Floating Entertainment Shelf

Our entertainment console was big, bulky and didn’t match the rest of the house – time for an upgrade.
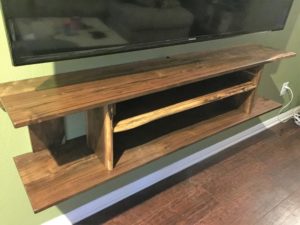
We decided a floating entertainment shelf would give us the floor space we wanted, while still holding everything we needed. Some nice Walnut boards, milled by my dad from a walnut tree he cut down during a construction project, would provide plenty of strength & classic beauty.
Unfortunately, I’m a fan of ‘winging it,’ so I just looked at several other floating entertainment shelves online – decided on the features that worked best for us – then started working. I never drew up a formal plan, but I had a pretty good idea of what I wanted the final product to be, and how I would get there.
The size of the lumber restricted me somewhat. The length and depth was limited by the length of the straightest boards – and how many I could glue together. I was able to get a good size top and bottom. And I would add a middle shelf for additional storage.
Once the top and bottom were glued up, I cut and sanded the remaining pieces based on the design in my head, and on-the-spot measurements. For the middle shelf, I was able to leave a bit of a live edge instead of a straight edge cut.
I cut away a small space on the top & bottom of the shelf to run cables behind the shelves. The middle shelf was cut to provide some space to hide any cables & cords, too. I countersunk all the screws, then filled the holes with wood plugs made from scrap walnut – making a smooth, 100% walnut finish. Then I sanded, sanded and sanded.
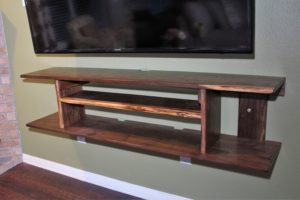
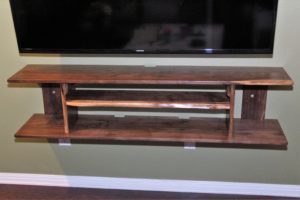
Finished it with a natural wood stain and a couple coats of polyurethane.
The entire piece fit perfectly under our TV. And the backing support pieces matched up with the studs in the wall – making it nice and secure to the wall.
Recent Comments